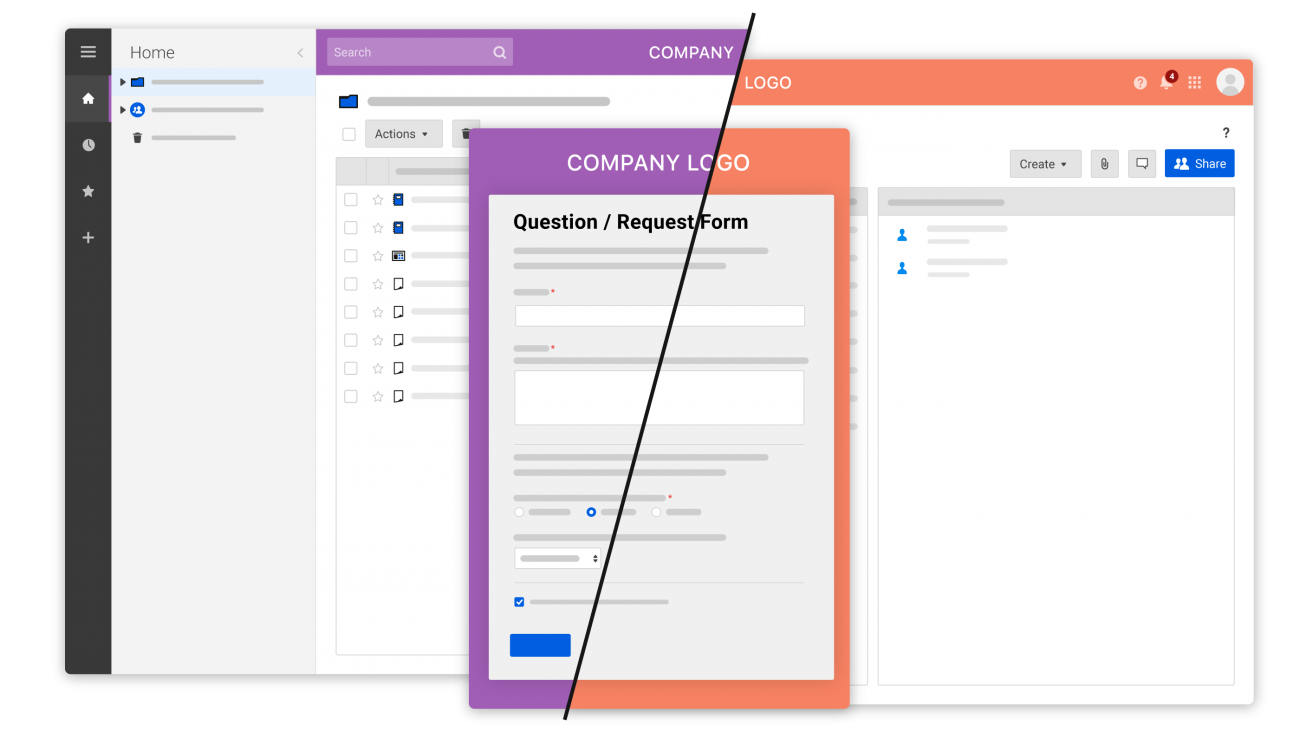
Follow these step-by-step instructions to set up custom branding.
Smartsheet allows you to add logos and set color themes for a customized look. Branding can be applied to your entire account, or individual workspaces.
Brand Smartsheet with your colors and logo
The color settings and logo branding that you apply are displayed in the Smartsheet application and in email messages sent from Smartsheet.
Changes to colors and logos won't be applied retroactively to existing Smartsheet items or items for which you aren't the Owner. See Global Account Settings for information on applying colors and logos for everyone.

Brand the application for yourself
Color and logo changes apply to any sheet, report, and dashboard that isn't in a workspace.
- Select Account in the lower-left corner and select Personal Colors & Logo.
- Choose color settings for Background and Task Bar Color. Or, select a color theme.
- Upload an image file of your custom logo. Remember the supported file types and that your logo may be resized.
- Select Save.
If your System Admin has enforced strict branding guidelines, you won’t be able to apply custom colors or branding for your plan-level branding.
New items you create —such as sheets, reports, workspaces, and dashboards— will inherit your personal colors and logo. However, if these items are within a workspace, they’ll adopt the branding of the workspace instead.
Brand your Workspace
Workspaces inherit organization-level branding, not personal branding. Workspaces created after you set custom colors and logo branding inherit the new settings.
Existing workspaces need to be changed individually, which overrides plan-level branding.
To brand a specific workspace:
- Right-click on the workspace you want to brand.
- Select Workspace Colors & Logo.
- Choose color settings for Background and Task Bar Color. Or, select a color theme.
- Upload an image file of your custom logo. Remember the supported file types and that your logo may be resized.
Select Save.
Brand the application for your entire organization
System Admins can set the default color settings and logo branding for everyone in the account.
- In the lower-left corner, select Account > Admin Center.
- On the Branding & Personalization tile, select:
- Account Colors
- Account Logo
- Branding Lock: Branding lock prevents users from applying personal branding settings.
- Select Save.
You can revert to the default Smartsheet settings at any time.
For best practices about creating a logo for use in Smartsheet, see Create a Quality Logo to Brand Your Smartsheet Items.
Supported file types
- PNG
- GIF: You can upload animated GIFs but they don't play in the grid. The initial frame is the preview. Animation plays after you double-click the image in the grid.
- JPG: JPGs in the RGB color space are supported. Images in a CMYK color space targeted for print aren't supported.