Applies to
- Pro
- Business
- Enterprise
Capabilities
Who can use this capability
- Owner
- Admin
Add and edit widgets on your dashboard
Widgets help you organize information on your dashboards. Create different kinds of widgets—metric, report, image, web content, and more—and then customize how those widgets appear and behave.
Add widgets to your dashboard
- Create a new dashboard or open a dashboard you'd like to edit
- On the top-right, select the pencil (Edit Dashboard) icon
- On the right bar, select the plus (Add Widgets) icon
- Select the widget to add. Configure your widget.
- Select Save.
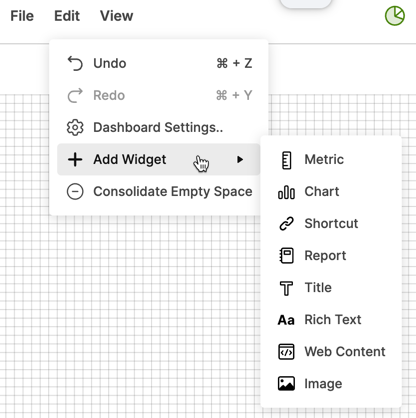
If you can't see the Add Widget panel on the right when editing your dashboard, you can access it directly from Edit > Add Widget.
Edit your widget
You can change widget settings like data source, image alignment, colors (including custom hex colors), text, title, and fonts.
To configure a widget:
- On the top-right corner, select the pencil (Edit Dashboard) icon
- Select the widget you want to edit.
To select multiple widgets, drag the pointer or press the Ctrl key (or Command on Mac) and select the widgets.
- Select More
 from the top right corner of the widget and then Edit. You can also double-click the widget.
 - Use the panel on the right to see and edit the widget properties.
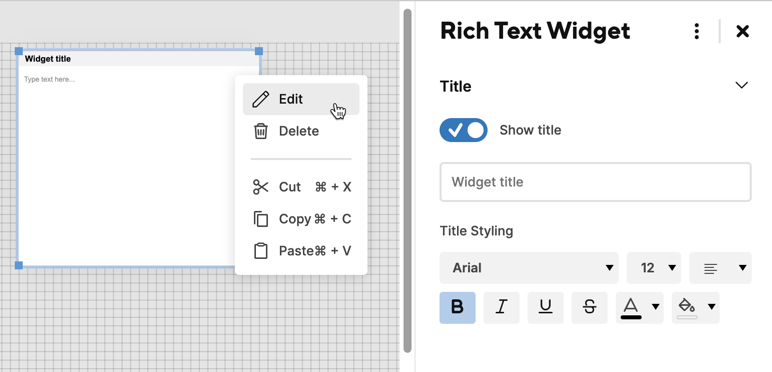
- Make your changes.
- Select Save.
The widget settings panel only displays the common editable attributes when editing multiple widgets.
Edit multiple widgets
The properties you can edit depend on the widget type selected:
| Selection | Properties you can edit |
|---|---|
| Same widget type | All widget attributes |
| Different widget types |
|
| All Chart widgets |
|
If you selected Use formatting from source in the metric widget, your text styling edits don’t override this setting.
You can also drag, cut, copy, and paste multiple widgets at once.
Resize and move widgets
You can resize and move your widgets. On-screen guides help you align and size your widgets and their content, as well as with horizontal and vertical spacing.
To resize a widget
- Position the pointer over any corner of the widget.
- When the pointer becomes a diagonal resize pointer, drag the resize handle to adjust the widget size.
To move widgets
- Select and drag the widget to the desired location.
Copy and paste widgets
Once you cut or copy a widget, you can paste it into the same or a different dashboard.
To cut or copy and then paste a widget
- Hover over the widget that you want to cut or copy.
- In the upper-right area of the widget, select More
 .
. - Select Copy or Cut.
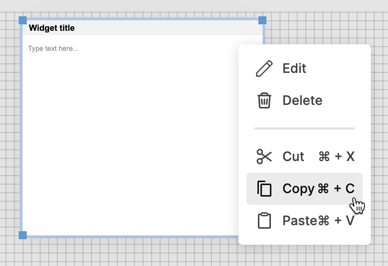
To paste the widget, right-click an empty part of the same dashboard or a different one and select Paste Here.
You need Owner or Admin sharing permissions on a dashboard to paste a widget.
To paste a widget right below the original widget
- Hover the pointer over the existing widget.
- In the upper-right area of the widget, select More
 .
. - Select Cut or Copy, and then select Paste.
- A shadow the shape and size of the widget shows you where you’re placing the widget. Other widgets move to make space for the new widget.
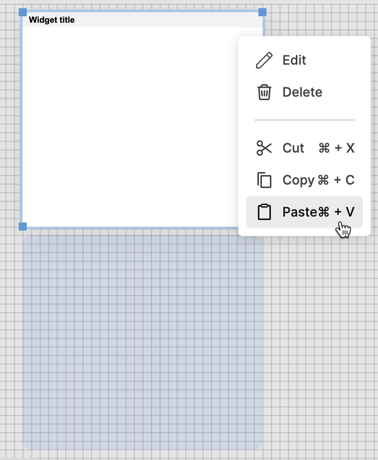
You can also copy and paste widgets through standard keyboard shortcuts.
Remove widgets
To delete a widget, you should be in Edit mode.
- Select the widget and press Backspace or Delete, or right-click the widget and select Delete.
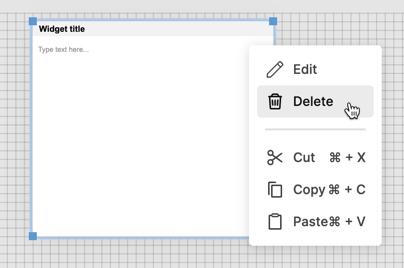
- Select Save to save your changes.
You can also right-click the widget and select the Delete option.
