Applies to
- Pro
- Business
- Enterprise
Capabilities
Who can use this capability
- Editor
- Owner
- Admin
Filter basics
Use filters to show or hide information in your sheet.
You must be the sheet Editor or higher to name and save a filter.
You must be the sheet Owner or Admin to share a filter.
Filters show or hide information in your sheet. For example, create a filter to see all tasks that are due on a specific date, everything that’s currently assigned to you, or all items in a particular stage in a workflow. You can apply a filter to a sheet via the Filter menu.

Sharing is available with Business plans and higher. For more information about plans and pricing, see the Pricing page.
Unnamed vs. named filters
There are two types of filters: unnamed filter, and named filters. The filter you work with depends on your sharing permission in the sheet and your goals for filtering:
- Unnamed filter: The unnamed filter keeps track of filter conditions you applied to a sheet. You can reuse and update the filter, but you can have only one unnamed filter at a time. Anyone who has access to the sheet can work with this filter type.
- Named Filter: You can create multiple named filters. Sheet Admins and Owners can share named filters with others, so anyone who has access to the sheet can use them. Anyone with Editor or higher permissions to a sheet can name a filter to save it for later use.
Filters applied to your sheet
Filters impact all views in the sheet. Rows you hide with a filter in grid view are also hidden in card view, calendar view, and Gantt View.
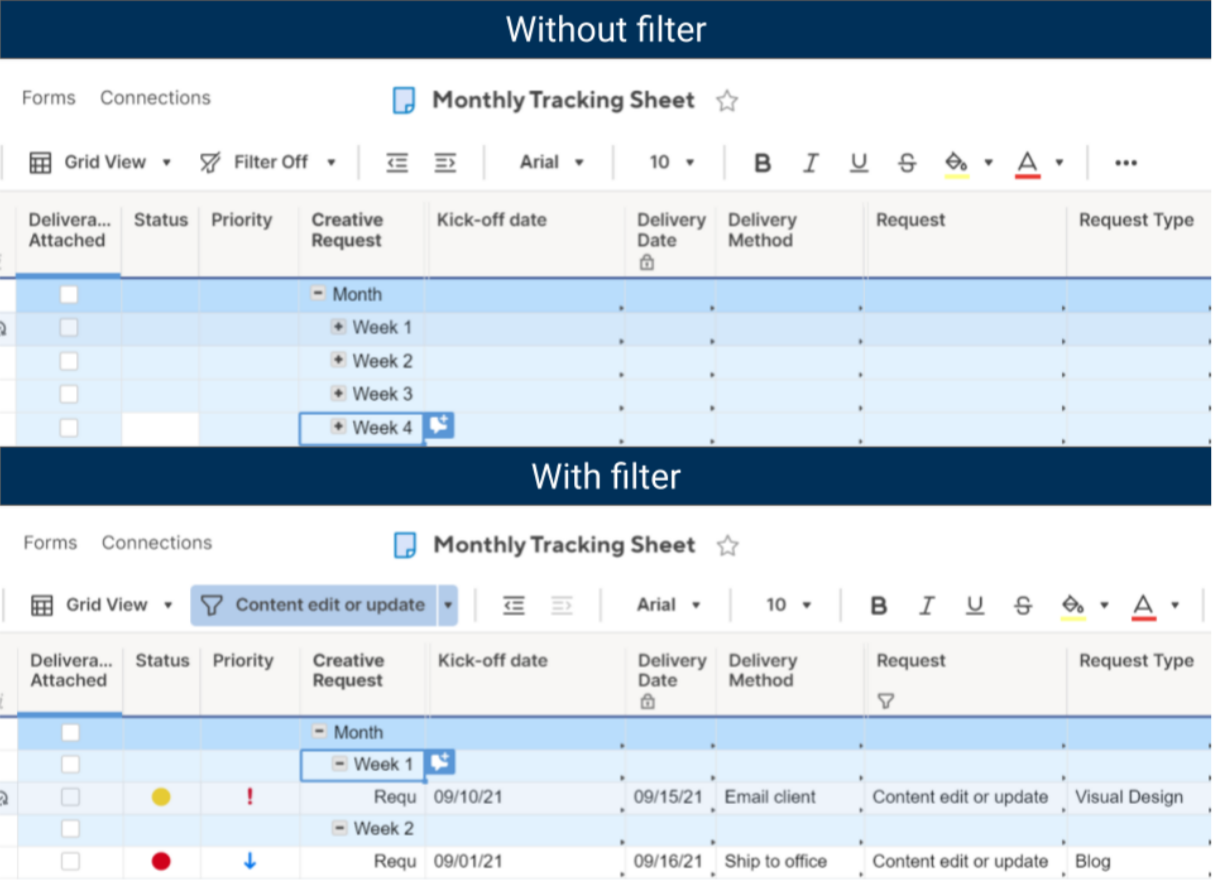
- To verify if a filter is applied to your sheet, check the label on the Filter menu. The image below shows an example of a sheet with an active filter.

- If one or more child rows of a collapsed parent row meet the criteria of a filter you applied, Smartsheet shows those hidden child rows.

- To see how many items are included in the filter over the total, hover over the filter name.
